Pivot Action
The Pivot action is used to create a table with multiple part columns using one or more columns to determine where the part numbers should go (similar to the concept in Excel).
Preparation
-
Download and Install
AcePrintPrep -
Extract PivotTest folder from PivotTest.zip to your AcePrint Projects folder.
-
Double-Click on the PivotTest.apprep file in that folder.

-
You will see the following error because it can’t find the directories stored in the project on your machine:

Press OK and navigate to the “Data” directory and Open the qAppPrepare.txt file found there.
-
Change the “Output folder” to “Output” under PivotTest.

-
Open the “Sections” tree on the left to review the “Test” section.
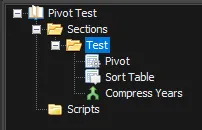
Each Section can contain any number of “Actions”. In this case, there are three (Pivot, Sort Table and Compress Years). Order is significant, and you can drag them to change their order.
The Section page (in this case “Test”) contains information about the source data and the output file structure you want to create.
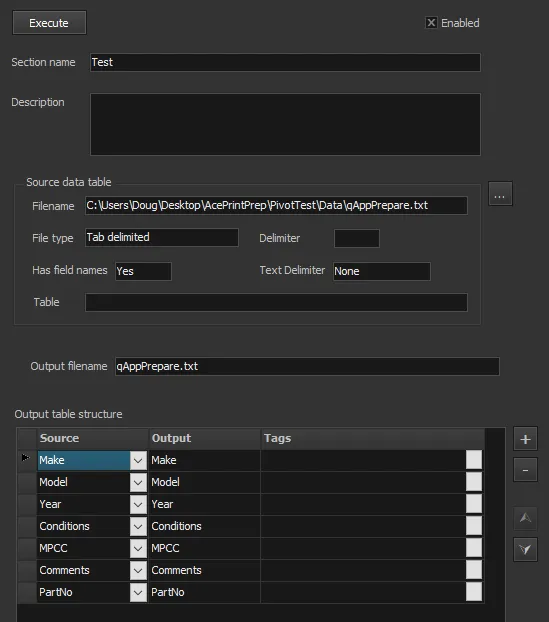
The source data table can be a delimited text file, an Excel file or an Access table.
Initially, the “Output table structure” matches the input source data structure. You can change it by adding columns, etc. Note that the “Pivot” Action adds additional columns that are not shown here.
There is an “Execute” button on each Section page, and also an “Execute All” button in the toolbar that will execute all “Enabled” sections. (This test file only has one section).
-
(Optional). Press the “Show Tables” button in the toolbar. This will show the input and output tables for the currently selected Section. There is a separate tab two switch between input and output views. (If no section is selected, you will not see anything).
-
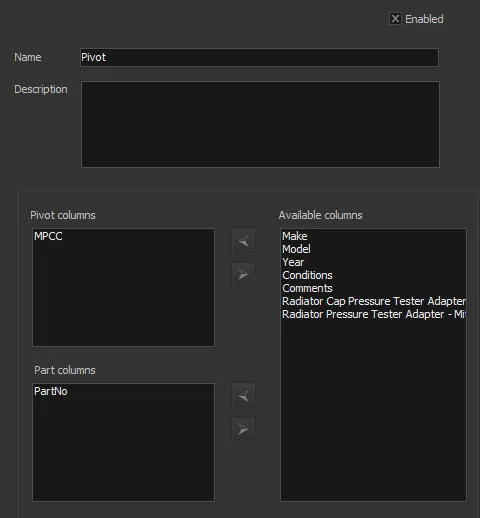
The “Pivot” action is used to create multiple part columns, combining rows and using the value of the the “pivot” column(s) for the part column headings. In this case, we are pivoting on MPCC (Part Description). All other columns must match in order to be combined on the same row.
Here is an example:
If the PartType was the Pivot column and PartNo was the Part column, you would get the following:

The Pivot action can also handle positions or other columns which provides a lot of flexibility.
