Getting Started
Once you’ve installed the software and attached the database, the first step before creating an Asset collection or “Catalog” is to login to the database and set up your users.
Login
When you first start AceAssets (from the Start Menu), you will see a Login screen like this:
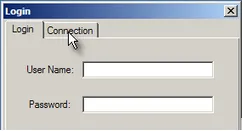
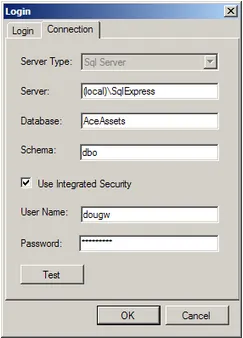
Press the Connection Tab and, depending on how Security is set up on your SQL Server, use “Integrated Security” or SQL Server Security. In the example below, we are accessing a local SQL Express with Integrated security and so entered User Name and Password credentials for our network (domain or active directory):
Add an “Administrator” User
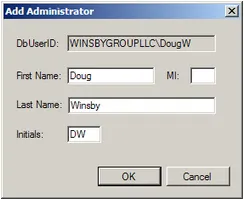
Each AceAsset database must have at least one “Administrator.” To ensure this requirement, the Add Administrator dialog will be displayed the first time you login to a database. You can add additional divisions, users, groups and permissions later if desired. Fill in the fields and press OK.
Note: If you are not using “integrated security”, you will need to get your database user id from your database admin.
You should now be presented with the main AceAssets screen. Note: If the Maintain menu does not have any enabled items, exit the program and run it again.
The next step is to create a new “Catalog” and import some assets.
See the Getting Started Tutorial