Mapping Engines
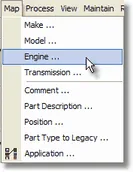
Mapping Engines is only available when working with Structured files that have defined an Engine column during the Import Applications process. From the main menu, select Map | Engines as shown below.
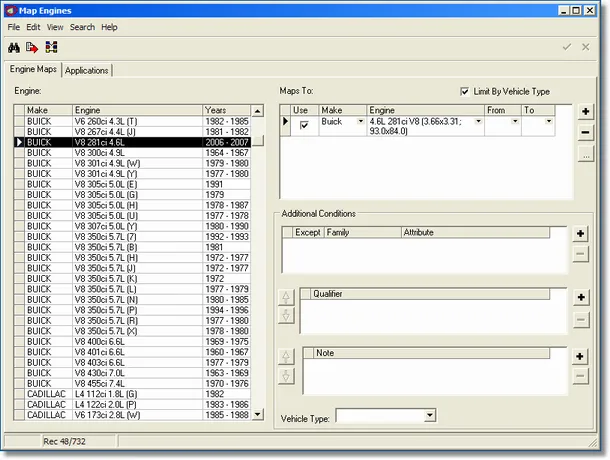
When the Map Engines screen is loading, there will be a pause while the program searches the Engine columns (if any were defined within the current document) and creates a list of unique values found in those columns. These engines are loaded into a grid on the left and a count of the total number of unique engines that need to be translated is displayed in the status bar. Your job is to provide a translation or “map” for each unique make/engine found in the file.
The Engine Create Exact Maps feature is very different from other screens — see Create Exact Maps for Engines for details. The steps below show how to map engines manually.
To use the Map Engines screen
-
Select a row in the Engine grid. Existing maps (if any) for the selected engine will be displayed in the Maps To grid.
-
Check the Limit By Vehicle Type option to limit the selection of engines to the vehicle type contained on the associated Make Map (if any).
-
Enable an existing map by checking the Use column.
-
Press the plus sign to add a new empty mapping row if needed. The Make drop-down should fill automatically unless you have more than one make mapped, in which case you must select the one you want. The Engine drop-down is optional, but in most cases you will select the desired engine. (Create a separate row for each additional engine required.) Fill in the year range drop-downs only if you want to limit the years.
If the engine string is very broad such as “2.3L” or “6 Cyl”, it is easier to leave the engine blank and just fill in an attribute in the Additional Conditions.
A “calculated displacement” value is shown in parenthesis if cc or cid is not included in the VCdb.
Warning: Do not rely solely on a calculated displacement when mapping an engine. It could lead to an incorrect mapping and incorrect applications, especially if there are two engines that are very close in displacement.
The Vehicle Type will be automatically filled in if the associated Make Map contained a vehicle type.
-
If the engine text you are mapping contains extra information not covered entirely by the selected engine, you must include Additional Conditions as necessary. Note that each Maps To row has its own set of additional conditions and will be bolded if any conditions are added.
-
Press the minus sign to remove a selected Maps To row if desired.
-
Press the check mark to post the change or the X to cancel any changes made to the current map.
Multi-Select Engine Mapping dialog
Pressing the ellipsis button (...) next to the Maps To edit buttons will display the Select Engines dialog screen.
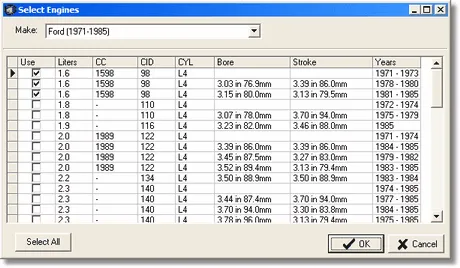
The Use check boxes represent rows to include (or already included) in the main Maps To grid. Select all engines you want included and press the OK button (or Cancel to return without changes to the selected engines).
Note: Mapping Engines is only available when working with Structured files that have an Engine column defined.