Part Column Editor
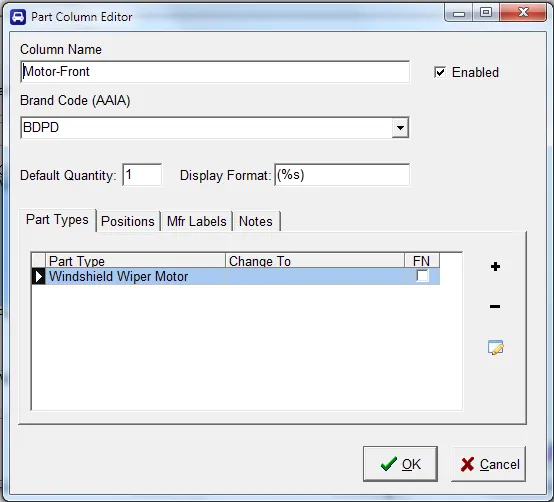
When you Add a new column or Edit an existing one from the Part Columns Grid, the Part Column Editor opens.
Part Column definitions can be enabled or disabled without removing them by toggling a check box. The four tabs on this screen correspond to the four Stub columns and are used both to select which applications to include in this part column and to change the stub information as explained below.
Column Name
This field gives a unique name to the column and is used as the header in the report grid. It should represent all of the information selected by the column definition (such as Brand, Part Type, and Position).
Branded ACES files only
⚠️ AceViewer only works with branded ACES files for pivot reports. This is satisfied by including a
MfrCode and/or a BrandAAIAID in the Header. In addition, the program will interpret a BrandAAIAID
attribute at the part level as a brand override.
AceMergeBrands.exe is a utility provided with the program to combine multiple ACES files into one with brands moved to the part level. Documentation for that utility is provided separately.
Part Selectors
There are four selectors you can use to determine which applications are applied to a part column: Brand Code, Part Type, Positions, and Mfr Labels. (Notes are not used as a selector but can be manipulated separately — see Notes Processing.)
For an application to be applied to a part column, it must match the Brand Code, one of the Part Types, one of the Positions (if any are defined), and one of the Mfr Labels (if any are defined). Note that an application can be applied to more than one part column.
Both the Brand and Part Type selectors are required. When you press the Brand Code (AAIA) drop-down, the program will pause as it retrieves a unique list of all brand codes found in the file.
Default Quantity
Set this to the quantity you want to ignore (because it is the default). Every application in an ACES file
must provide a quantity, but you don’t usually want it shown for every part. If the application has a
quantity different from the Default, the Display Format is used to render it in the part column. The
%s placeholder is replaced with the quantity amount.
Part Types / Positions / Mfr Labels
AceViewer uses a similar dialog to maintain all three of these part selector grids. Each consists of a combo box (loaded with a unique list taken from the file when you press the drop-down) and a Change To text box.
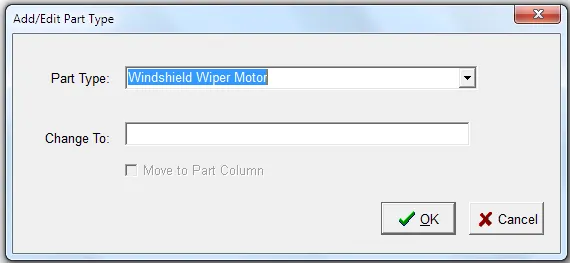
If Change To is left blank, the entry is a pure selector — the part column represents the entire selection (in this case the “Windshield Wiper Motor” Part Type). The Part Type is removed from the stub column. (Be sure that the Column Name represents this value in some way.)
If you fill in Change To, the associated stub column will be changed to that value. This is useful for grouping. For example:
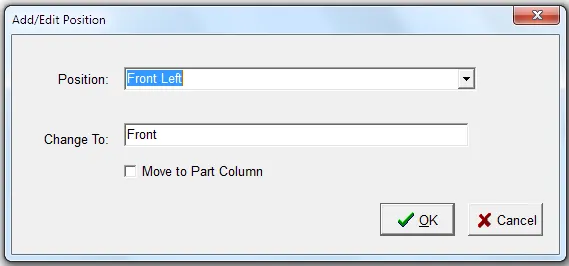
Here the Position to match is “Front Left” but the Change To is “Front”. This has the effect of grouping the position by Front in the stub column. Presumably you would have another row for “Front Right” also grouping on “Front”, and possibly a pair for “Rear”. This is a powerful concept and can be used to group any of the selector columns.
Move to Part Column
The Move to Part Column check box takes whatever is in Change To out of the stub and puts it in the
part column instead. You would normally use a simple footnote number here since there isn’t much room in the
part column. We recommend a number in square brackets — for example [5]. These footnotes are also exported
separately so you have an easy way to relate the text with the reference number.